Master Guide For HTML
At present time ⏳ we all are surrounded by documents 📄 as they are extremely helpful in conveying the information. The power 💪 of every document is the way of its representation, its structure and in the world of the internet 🌐, documents exist as the form of web pages. These web pages are being created and structured with the help of HTML for years.
Long History in Short
Prior to the introduction of the World Wide Web, there was the internet🌐. It was used to send intelligence from one place to another. In 1991, a British inventor and a computer scientist Sir Tim Berners-Lee introduced the idea of World Wide Web. In 1993, he created HTML and proposed a draft to IETF (Internet Engineering Task Force). He referenced its implementation to Mosaic browser which later became Firefox 🦊.
In 1994 when his draft expired, IETF created a group, working on HTML named HTMLWG, who introduced HTML 2. During this period, Tim created W3C (World Wide Web Consortium) and this group took over the development of HTML 2 and created HTML 3.2 and HTML 4 in 1997 and HTML 4.01 in 1998 and then the development of HTML took a holt. After this W3C published a new markup language XHTML which is the integration of HTML into XML. They published XHTML 1.0 in 1998 but it has its limitations, so some web publishers didn't switch to it as they didn't like it. In 1999 W3C published XHTML 2 but most of the browser vendors refused to implement it, so it never came into the spotlight.
In a workshop in 2004, some people decided W3C is not managing the development of the web in the right way, so a new organization was formed called Web Hypertext Application Technology Working Group (WHATWG). The WHATWG created HTML5 and its draft was officially adopted by HTMLWG in 2007.
HTML in Present
Today, when you visit any website on the internet, you see the detailing and visuals of the sites. They all are because of the HTML, HTML works as a bone 🦴 to the designing of web pages. We will cover all basic and necessary aspects of HTML in this article, so let's start with the structure part.
Elements in HTML
Let's understand the concept of elements with the help of a daily life example. Let's take the burger 🍔 example. Suppose that you want to make a burger. You need to gather the elements that you need to put into your burger like buns, pattie, vegetables, sauces, etc. You put these elements in the correct order and structure, and you get your yummy and beautiful burger🍔.
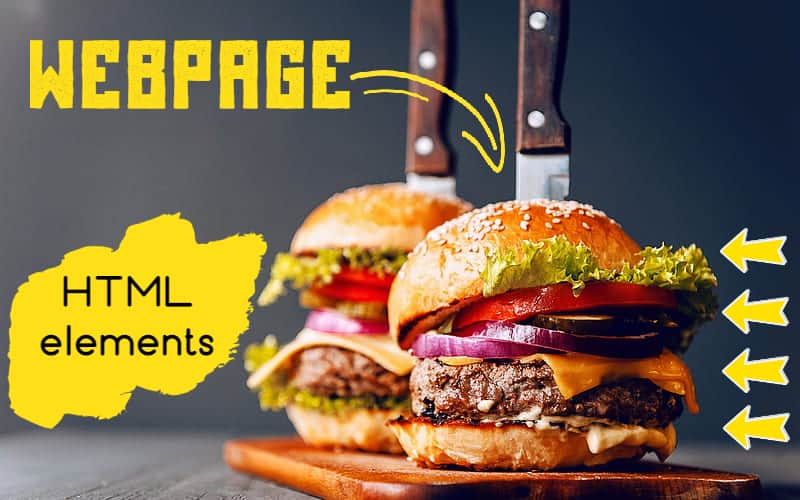
Just like your burger🍔, the webpages are created using HTML elements.
A webpage created using HTML is a representation of the combination of many different elements.

The above image is a result form of some basic HTML elements. The code for this webpage is:
<html>
  <body>
    <h1>Main heading of the page should look like this</h1>
    <h2>A sub heading looks like this</h2>
    <p>Paragraph helps you to describe the web page</p>
  </body>
</html>
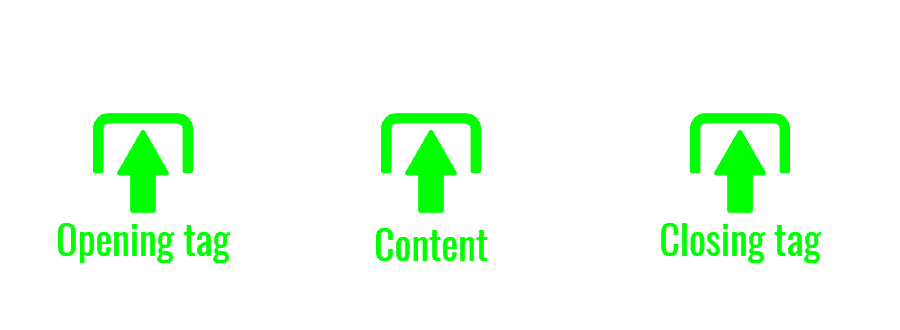
Let's further break down an HTML Element.
An element is something that carries the content within an opening tag and a closing tag.
Elements can also be nested into other elements, like in the above example,
<html> element is the rootelement of the document and it references the whole HTML document. Inside <html> element, there is a <body> element which references the body of the document. Now inside the <body> element the other elements create the body of the document like <h1>, <h2>, <p>, etc.
Different HTML Elements and their Attributes
<html> element
<html> element is the root element of an HTML document. It defines that the current document is an HTML document. Every other element in your HTML code will be nested in <html> element.
<body> element
<body> element defines the body structure of your HTML document. <body> element contains all the content of your HTML document like headings, sub-headings, paragraphs, images, links, etc.
Heading Elements
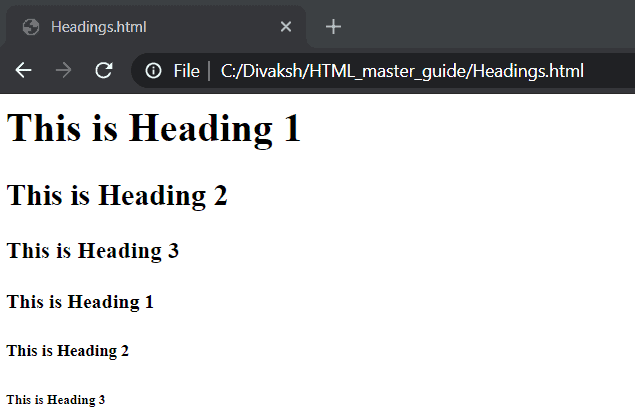
There are six heading elements in HTML, starting from <h1> the main and most important heading, and to <h6> the least important heading.
<html>
  <body>
    <h1> This is Heading 1 </h1>
    <h2> This is Heading 2 </h2>
    <h3> This is Heading 3 </h3>
    <h4> This is Heading 4 </h4>
    <h5> This is Heading 5 </h5>
    <h6> This is Heading 6 </h6>
  </body>
</html>Output:
<p> Paragraph Element
The paragraph element in HTML is used to represent a paragraph in the web page. Your browser adds a single blank line before and after the <p> element.
<img> Image Element
<img> Element is used to put images📷 on the web page. You need to provide the path of the image in the opening tag of the <img> element. This path is provided via the src attribute and you can set the height and width of the image by height and width attribute. I have used the word attribute here; we will learn more about attributes in HTML later in this article. For now, you can understand it like a property of your HTML element. One more thing to remember is that <img> element does not have a closing tag.
<html>
  <body>
    <img src = 'C:\image.jpg' width= '500' height= '400'>
  </body>
</html>
<a> Anchor Element
<a> or Anchor element is used to put a hyperlink text on the web page. We will discuss the use of this element later in this article.
Attributes in Elements
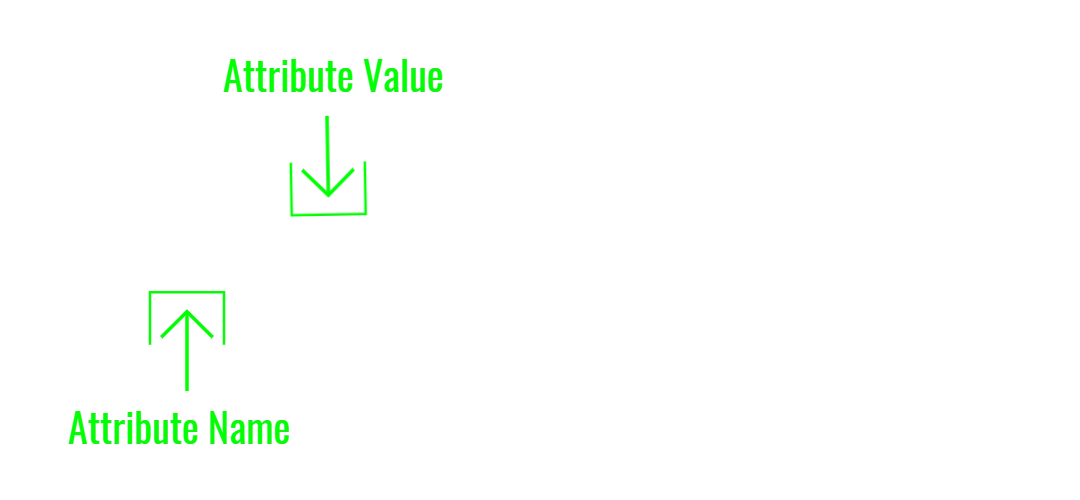
Despite opening tag, closing tag and the content part, there is one more property that HTML elements possess. This property is called an attribute. Attributes provide additional information about the content of an element and these are defined inside the opening tag of the element. An attribute can be divided into two parts: name, and value. Let's understand with an example.
Let's discuss different attributes in HTML
href attribute
The href attribute is used in the <a> element. <a> element is used to put a hyperlink on your web page, just like this
<a href = "https://divaksh.com/">Visit Divaksh.com</a>
What you put in the content part of <a> element becomes the hyperlink text and what you put in the value part of href attribute becomes the target URL of your hyperlink.
lang attribute
The lang attribute is used to define the language of the content in the element. This helps search engines to understand your content. lang attribute value is defined by the language code like this.
lang attribute in <html> element
The lang attribute will define the language of the whole HTML document. For example, you are writing your language in Hindi language.
<!DOCTYPE html>
<html lang="hi">
<body>
...
</body>
</html>
or you can also mention the country code:
<!DOCTYPE html>
<html lang="hi-in">
<body>
...
</body>
</html>
lang attribute in <p> paragraph element
lang attribute can also be used in a particular paragraph just by defining it into the opening tag like this.
<p lang= 'en-US'> This paragraph is in English language. </p>src attribute
src attribute is used to provide the path of the file, you want to display on your web page, like image, audio🎵, and video📽️ files, etc.
src attribute in <img> image element
<img src = 'C:\image.jpg'></img>src attribute in <source> element
<audio controls>
  <source src="song.mp3" type="audio/mpeg">
</audio>
The width and height attribute
These attributes decide the dimensions of your image file, as their values are the lengths in pixels.
<img src = 'C:\image.jpg' width= '500' height= '400'></img>alt attribute
alt attribute is useful to define an alternative text for the image in case user is not able to view the image or there can be multiple reasons for this like image did not load properly due to poor network or there are some server issues. In such cases, this attribute will put the defined text on the screen.
alt attribute is also useful to make your content SEO friendly.
<img src = 'C:\image.jpg' width= '500' height= '400' alt= 'Image of a tree'></img>The style attribute
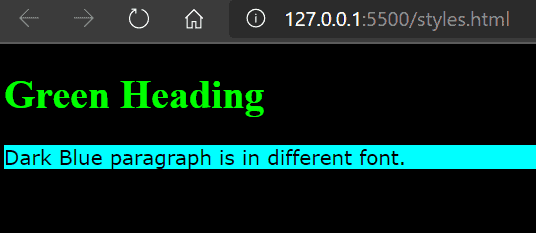
You can add distinctive styles to your contents like color, font, size etc. with the help of style attribute.
Syntax of style attribute is
<tag_name style= 'property: value'><!DOCTYPE html>
<html>
<body style= 'background-color: black'>
<h1 style= 'color:#00ff00'>Green Heading</h1>
<p style = 'color: black; background-color: cyan; font-family:verdana'> Dark Blue paragraph is in different font. </p>
</body>
</html>Output:
title attribute
What you write in the value part of the title attribute will be displayed when the user will do the mouse over that element.
<!DOCTYPE html>
<html>
  <body >
    <p title="Hovering over a para!!">Do mouse over me</p>
  </body>
</html>
Structure Designing Using HTML
Now we have enough basic knowledge of HTML elements and attributes, so let's mix up the things and do the advancements in our knowledge.
Formatting the text in HTML
There are enough options available for playing with text in HTML, we will discuss it one by one.
Making the text bold
<b> Element
You can make the text bold by using <b> element. Just put the content in between the opening and closing tag of this element.
<!DOCTYPE html>
<html>
  <body>
    <p>The plain text is too ignorable</p>
    <b>The text is now bold</b>
  </body>
</html><b> The text is now bold</b>
Or you can use it inside another element, also like it can be nested.
<!DOCTYPE html>
<html>
  <body>
    <p><b> The text is now bold</b>
</p>
  </body>
</html>
Italic text
<i> Element
Italic text is used for the names of objects that you might want to be stand out from the plaintext and get an attention. For doing it in HTML, just use the <i> element.
<!DOCTYPE html>
<html>
  <body >
    <p><i>The text is now italic</i></p>
  </body>
</html>
Highlighting Text
Highlighting is important when you want the text to grab more attention than its surroundings.
<mark> Element
Anything we write in between the <mark> and </mark> tags, gets highlighted.
<!DOCTYPE html>
<html>
  <body >
    <p>Thanks for <mark>Highlighting</mark> me</p>
  </body>
</html>
Sub Scripting the Text
<sub> Element
Sub scripting the text is possible, and it will be displayed half the length down to the main characters.
<html>
  <body >
    <p>The Sub<sub>script</sub> Looks like this</p>
  </body>
</html>
Super Scripting the Text
<sup> Element
Super script text will appear half the length above to the main line characters. Whatever we write inside the <sup>tags gets converted into a super script.
<html>
  <body >
    <p>We are working with 5<sup>th</sup> version of HTML</p>
  </body>
</html>
Styling😎 in HTML
We have discussed the style attribute in the article in the attributes section. Let's learn some more etiquette in styling.
Changing the Text Color
Different colored text makes your web page more attractive 🧲 and readable 🤓. In HTML, you can define the text color in the style attribute of a specific element.
<html>
  <body >
    <p style= 'color:Green'>Text in green color looks cool</p>
  </body>
</html>
Changing the Background Color
In HTML, different elements can have different backgrounds. We can change it with style attribute.
<html>
  <body >
    <p style= 'background-color: greenyellow;'>A good background helps you in many ways</p>
  </body>
</html>
You can do the formatting in other elements also, like if you use the style attribute in the body element, it will look like this:
<html>
  <body style= 'background-color: greenyellow;'>
    <p>A good background helps you in many ways</p>
  </body>
</html>
Changing the Text Font
You can customize the font of the text on the web page that can suit your styling.
<html>
  <body>
    <p style= 'font-family: Times New Roman;'>A good background helps you in many ways</p>
  </body>
</html>
Changing the Text Size
Size of the text can also be changed with the help of styleattribute.
<html>
  <body>
    <p style= 'font-size: 50%;'>Small size text</p>
    <p style= "font-size: 100%;">Medium size text</p>
    <p style= "font-size: 200%;">Big size text</p>
  </body>
</html>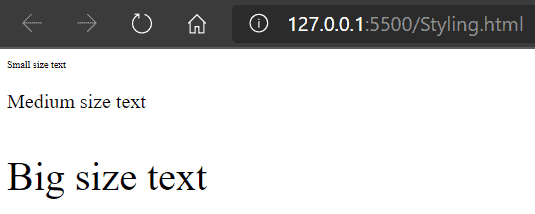
Adjusting the Alignment of Text
Sometimes you need to do the correct alignments of the text you used in your web page, it can be done with the help of style attribute.
<html>
  <body>
    <h1 style="text-align: center;">Centered Heading</h1>
    <p style="text-align: right;">Text on the right</p>
    <p style="text-align: left;">Text on the left</p>
  </body>
</html>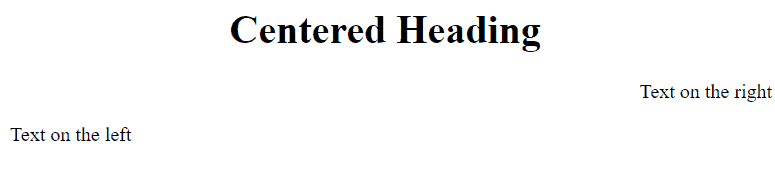
Tables in HTML
Tables help you present data in an organized manner. In HTML, creating and maintaining tables is simple enough. Let's have a look 👀.
Creating Table in HTML
In HTML, tables are made from different elements. These elements are <table>,<th>, <tr>, <td>.
- <table>: This element defines the whole table. All rows, columns and cells will come under this element.
- <th>: This element defines the headers of the table.
- <tr>: All rows of the table are defined by this element.
- <td>: Every data you put in your table will be written in <td> elements.
Let's create a table in HTML
<html>
    <body>
        <table>
            <th>Sr. No.</th>
            <th>Fruit Name</th>
            <th>Quantity</th>
            <tr>
                <td>1.</td>
                <td>Apple</td>
                <td>🍎🍎🍎🍎</td>
            </tr>
            <tr>
                <td>2.</td>
                <td>Mango</td>
                <td>🍈🍈🍈</td>
            </tr>
            <tr>
                <td>3.</td>
                <td>Banana</td>
                <td>🍌🍌🍌🍌🍌</td>
            </tr>
        </table>
    </body>
</html>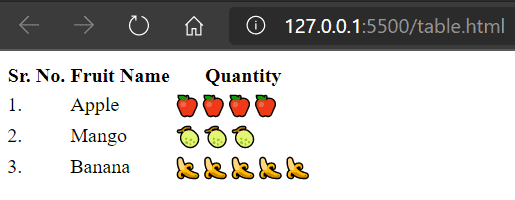
Formatting of Table in HTML
There are many ways to format and decorate an HTML table, as the table created in the previous example doesn't look convincing. We will do some formatting in it.
Add Borders to the table
We can add borders to the entire table, or we can add in only a specific row or even in a single cell.
Border in a Single Cell
For adding a border, we just need to define the borderproperty of style attribute in the required element. The value of the borderproperty requires size and the color of the border.
<td style="border:3px solid black">🍈🍈🍈</td>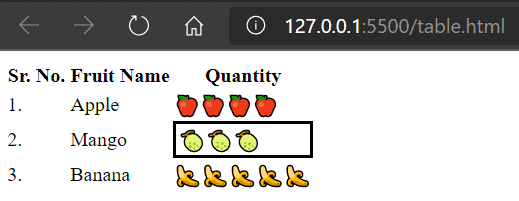
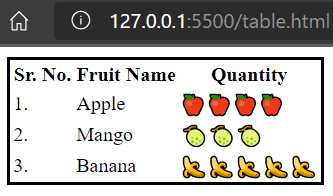
Border in Whole Table
If you think it is the same as adding border in a single cell, then you might be wrong, because if you do this:
<html>
    <body>
        <table style="border:3px solid black" >
            <th>Sr. No.</th>
            <th>Fruit Name</th>
            <th>Quantity</th>
            <tr><td>1.</td>
                <td>Apple</td>
                <td>🍎🍎🍎🍎</td>
            </tr>
            <tr>
                <td>2.</td>
                <td>Mango</td>
                <td>🍈🍈🍈</td>
            </tr>
            <tr>
                <td>3.</td>
                <td>Banana</td>
                <td>🍌🍌🍌🍌🍌</td>
            </tr>
        </table>
    </body>
</html>
Then you will get this
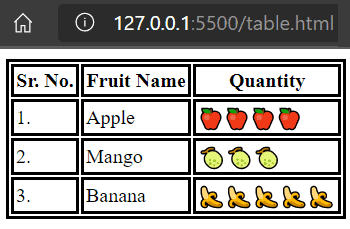
To add natural borders to your table, you need to add borders to each table element, but that will be cumbersome and time taking, so there is a short and sweet method for this. We have to understand the working of <style> element for this.
<style> Element
<style> element is defined before the <body> element, as this element contains the information related to styling of some elements of your HTML document. Actually, I have used the word 'some' because in <style> element you can specify which elements will possess the defined styles. Let's clear the things with an example.
<style>
        table, th, tr, td {
            border: 3px solid black;
        }
</style>
The above code represents the use of <style> element. In the content of the <style> element, we first define the name of elements, whose styling we want to do, then we define the style property, we want to give them, in curly brackets. Now when we put this element in our table code:
<html>
    <style>
        table, th, tr, td {
            border: 3px solid black;
        }
    </style>
    <body>
        <table >
            <th>Sr. No.</th>
            <th>Fruit Name</th>
            <th>Quantity</th>
            <tr><td>1.</td>
                <td>Apple</td>
                <td>🍎🍎🍎🍎</td>
            </tr>
            <tr>
                <td>2.</td>
                <td>Mango</td>
                <td>🍈🍈🍈</td>
            </tr>
            <tr>
                <td>3.</td>
                <td>Banana</td>
                <td>🍌🍌🍌🍌🍌</td>
            </tr>
        </table>
    </body>
</html>
Still, this table doesn't look perfect and natural. There is a need to manage the individual borders to stick each other.
For this, we just need to make these borders collapse on each other. This can be done by defining the border-collapse property in the style element.
    <style>
        table, th, tr, td {
            border: 3px solid black;
            border-collapse: collapse;
        }
    </style>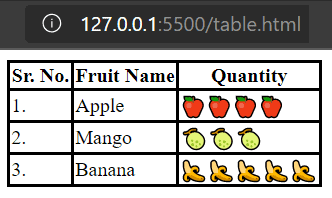
Looks perfect now. Similar to table lists are also a very important part of any document. So, let's understand how lists work in HTML document.
Lists in HTML
We can make lists in HTML with two different syntax.
- Ordered List
- Unordered List
Oredered List
In ordered lists, each element has a number or index and the last index of this list, increases as items are added in it.
An ordered list starts with <ol> element and each of its items are written in <li> elements.
<html>
    <body>
        <h1>An ordered list of Human expressions</h1>
        <ol>
            <li>A smily face🙂</li>
            <li>A more smily face😊</li>
            <li>The happy one😁</li>
            <li>Enjoying himself😆</li>
            <li>Teasing you😝</li>
        </ol>
    </body>
</html>
Unordered Lists
Unordered lists do not have indexes and numbers for its items, instead of that each item is separated and represented by a distinctive dot.
These lists start with <ul> element and each element is written in <li> elements.
<html>
    <body>
        <h1>An unordered list of Human expressions</h1>
        <ul>
            <li>A smiley face🙂</li>
            <li>A more smiley face😊</li>
            <li>The happy one😁</li>
            <li>Enjoying himself😆</li>
            <li>Teasing you😝</li>
        </ul>
    </body>
</html>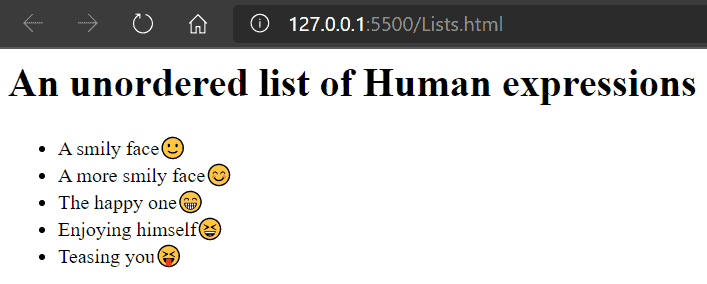
Block Elements in HTML
Block elements are the elements which will occupy the full space available in the line they are used. It also means that a block element will always start in a new line.
Let's take the example of <div> element. <div> elements are the block elements.
<html>
    <body>
        <div>This is a block element</div>
        <div>The new block element is in new line</div>
    </body>
</html>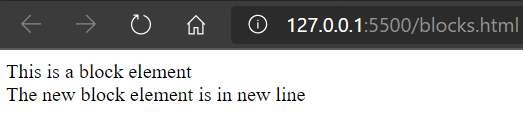
Inline Elements in HTML
Inline elements do not occupy the entire line, instead they only take the required space and in the remaining space of the line, you can place another inline element.
Let's understand the concept of inline elements with the help of <span> element.
<html>
    <body>
        <span>This is an inline element, </span>
        <span>The new inline element is in the same line</div>
    </body>
</html>
Classes in HTML
In HTML, class attribute has the same concept as it has in our real life. Just as in a school, a class is a group of students who study the same syllabus. In HTML, many elements can be grouped and divided into classes. Each element of a class will share the same properties.
Classes are defined in the <style> element, the syntax of the class will be
Put a dot '.' then write your class name, then curly brackets and then properties of the class for elements inside them.
<html>
    <style>
        .headings {
            color:chartreuse;
            background-color: coral;
            text-align: center;
        }
        .paragraphs{
            color:darkblue;
            background-color: cyan;
        }
    </style>
    <body>
        <h1 class = "headings">Document created using Classes</h1>
        <p class = "paragraphs">You can see this paragraph is in the styles defined in paragraphs class</p>
        <p>This paragraph is not a part of the paragraphs class</p>
    </body>
</html>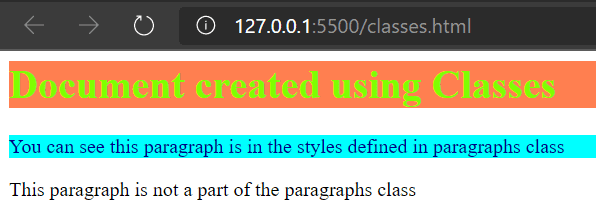
The Id Attribute
Id attribute is unique for each element, just as everybody in this world has a unique id. Id attribute is used in JavaScripts to do creative stuff with elements.
We can define the specific properties of an id, and the element which will have that id, will posses those properties.
To define the properties of an id, you need
<html>
    <style>
        #main_heading{
            color:greenyellow;
        }
    </style>
    <body>
        <h1 id = 'main_heading'>The id Attribute</h1>
        <h1>This heading is in simple text</h1>
    </body>
</html>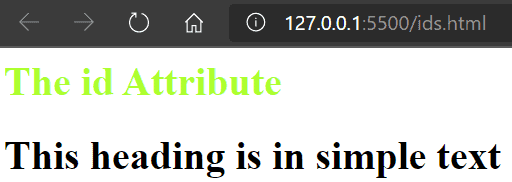
In one HTML document there can't be two id with the same name. Each id is unique in an HTML document. It is used to uniquely identify elements in the HTML document.
I have covered all basics of HTML, if you still think something is missing and you want me to explain more then feel free to comment below to let me know.